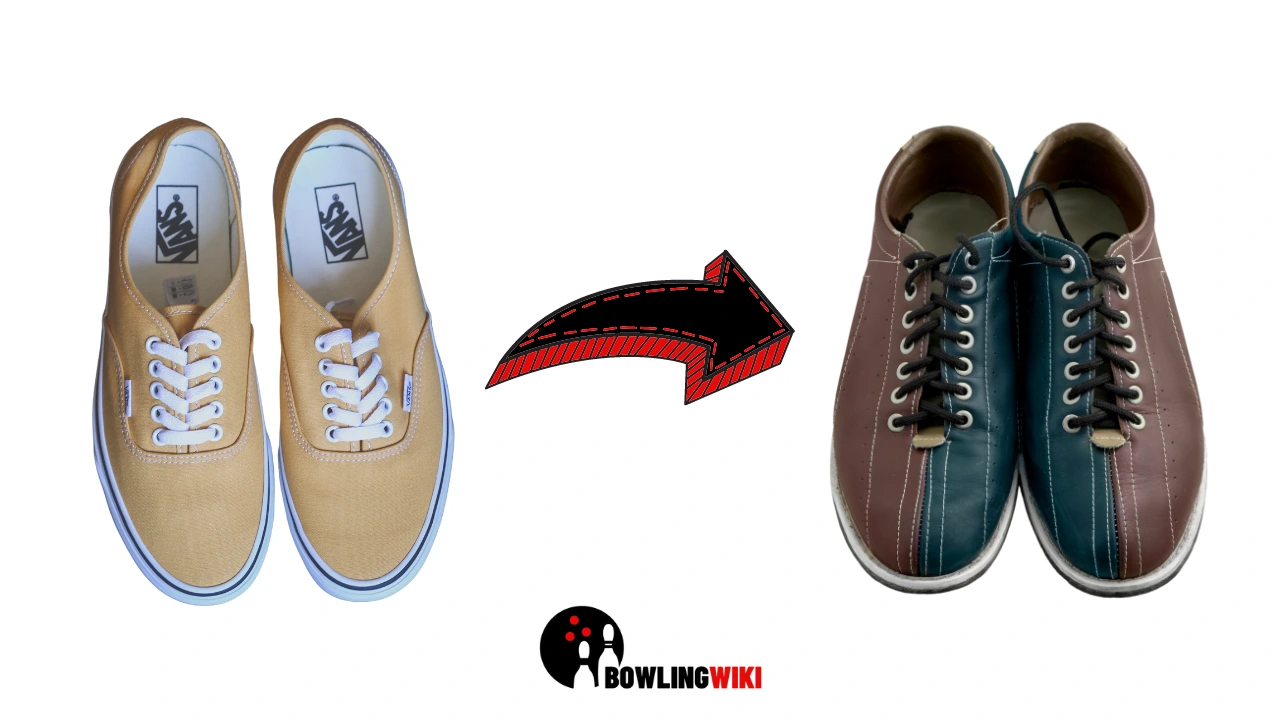
How to Turn Vans into Bowling Shoes: A Step-by-Step Guide
If you’re a avid bowler, you may be looking for a more comfortable and practical option than traditional bowling shoes. Vans are a popular choice for many bowlers, but converting them into dedicated bowling shoes can seem like a daunting task. However, with the right tools and a little know-how, it’s a relatively straightforward process.
Materials You Will Need
Before you start, you’ll need to gather the following materials:
- Vans sneakers
- Bowling shoe soles
- Contact cement
- Scissors
- Ruler or measuring tape
- Pen or marker
- Clean cloth
Step 1: Removing the Old Soles
The first step in converting your Vans into bowling shoes is to remove the existing soles. This is easiest to do with a pair of scissors, but you can also use a knife or any other cutting tool. Simply cut the sole along the seams and remove it from the shoe. Repeat this process for both shoes.
Step 2: Measuring the New Soles
Once you have removed the old soles, you will need to measure and cut the new bowling shoe soles to fit your Vans. Measure the length and width of the sole of each shoe and mark the measurements on the new soles. Cut the soles to size, making sure that the cut edges are straight and even.
Step 3: Applying the Contact Cement
With the soles cut to size, it’s time to apply the contact cement. This is a strong, fast-drying adhesive that will hold the new soles in place.
Apply a thin, even layer of contact cement to both the bottom of the Vans and the top of the new soles. Make sure to cover the entire surface area, but avoid applying too much adhesive, as this can cause the soles to become too stiff.
Step 4: Attaching the New Soles
Once the contact cement has been applied, it’s time to attach the new soles to the Vans. Place the new soles onto the bottom of the shoes, making sure that they are centered and aligned correctly. Apply gentle pressure to ensure that the soles are firmly attached and let the adhesive dry for a few hours.
Step 5: Testing and Breaking In
Once the adhesive has dried, you can try on your new bowling shoes to make sure that they fit comfortably.
If necessary, you may need to make some adjustments to the soles for a better fit. To break in your new bowling shoes, wear them around the house or take a few practice bowls. This will help to ensure that the soles conform to your feet and that they provide the support and stability you need while you’re bowling.
Conclusion
Converting Vans into bowling shoes is a simple and cost-effective way to improve your game.
With a little effort and the right materials, you can have a pair of custom-fit, comfortable bowling shoes that will last you for years to come.
Whether you’re a seasoned bowler or just starting out, this guide will help you achieve the perfect fit and performance that you need to excel on the lanes. So, grab your Vans and get started on your bowling shoe conversion today!